Styrofoam Loops
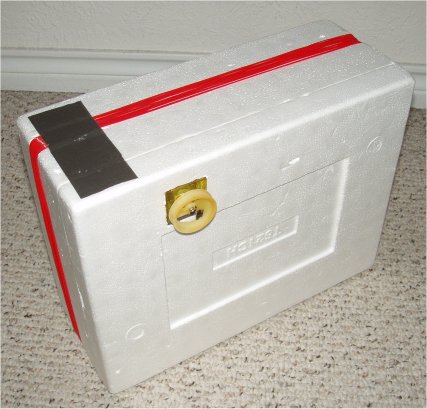
This small styrofoam loop is a solid performer, even helping the GE SR-3 to receive more stations. It is about 14 by 11 1/2 inches. I decided to try my luck at a larger loop. This article describes construction of a 34 by 29 inch loop.
Materials
- Any large block of styrofoam can be adapted to make a styrofoam loop. You can find a suitable piece at the bottom of a water heater, or padding computer monitors.
- About 120 feet of wire.
- A 9.6 to 365 pF tuning capacitor – the large set of plates in a tuning capacitor salvaged from a junk radio.
- Plastic box to enclose the tuning capacitor.
Construction
- I found two pieces of styrofoam that were originally padding the upper corners of an HDTV. The set was much wider than normal, so regrettably they didn't use one continuous piece of styrofoam, electing instead for four. Undeterred, I decided to graft them together. I found some of those wooden toothpicks that are sharp on both ends. IMPORTANT SAFETY NOTE: Be careful not to drop them on floors where children go barefoot. My daughter once got one embedded an inch and a half deep in her foot, and it was a painful procedure at the emergency room to extract it. I inserted the toothpicks only a small portion of the way into one side, so that when I forced the other side down over the first, the toothpicks would set to the middle. I also got some of the double sticky back foam tape to hope the pieces together until I could wind the wire:
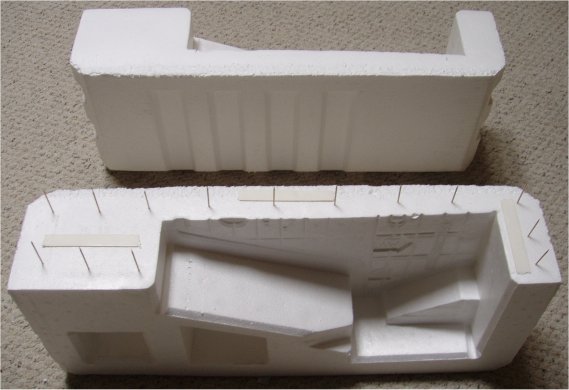
- Next, I lined up the two pieces and gently pushed them together. The result was a single piece structure about 34 by 29 inches. From the calculator, I needed 13 turns of wire. I places each turn against the previous. Duct tape is ideal for holding the wires in place.
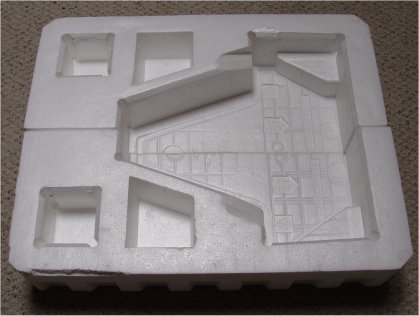
- The HDTV styrofoam had two deep pockets that were originally used for cardboard braces. I realized that these pockets would be ideal for the tuning capacitor box. I used a phillips head screwdriver to make wire holes in the styrofoam:
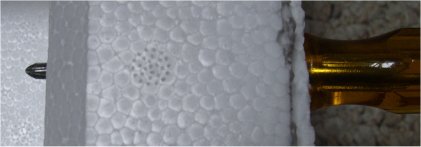
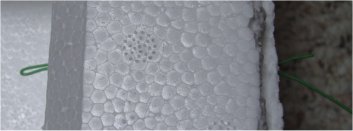
- It is easier to get the wire through the hole if you double it back on itself. That way, the smooth insulation goes through the hole and the wire end doesn't tend to dig into the ragged sides of the styrofoam hole:
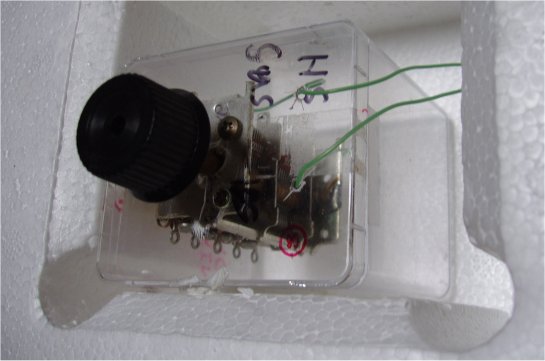
- Next, I prepared the box for the tuning capacitor by drilling holes to mount it, for the shaft, and holes for the wire. I find that when I make these things, it is a lot easier to have everything go through the lid, then I can just insert the whole assembly into the rest of the box. A plastic knob for the tuning capacitor keeps my body from affecting the tuning. I attached the tuning box to the side of the styrofoam pocket, connected one end of the loop to the frame of the tuning capacitor, the other to the plate tab of the large section. I did find that I needed to parallel both large sections of the tuning capacitor to tune the entire band - the capacitor was actually a 220 pF type and I needed the other section for extra capacitance. One other note - the trimming sections on tuning capacitors add enough capacitance to make life miserable for you at the high end of the band. I don't completely remove them - instead I unscrew the screw, bend the little plate out of the way, then put the screw and mica insulator back into the tuning capacitor underneath the little plate. I haven't destroyed anything, but that trimmer section is out of the circuit. Which makes tuning all the way to the high end of the band a lot easier.
And that was all there was to it! The loop is a solid performer in line with other loops of this general size. Tremendous improvement even on a GE Superradio 3, and the Q is sharp enough to aid in separating out distant stations adjacent to locals.


