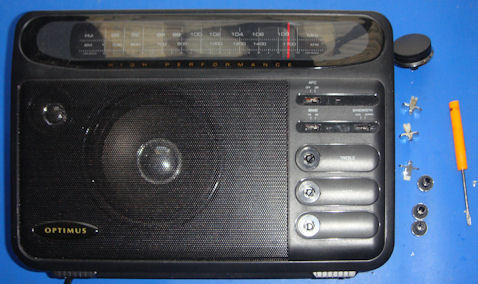
- Remove the front and side knobs, including the switch latches.
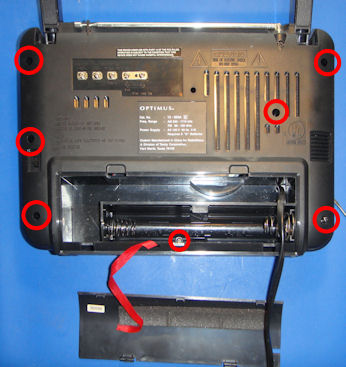
- Turn the radio over and remove six long chassis screws, three on each side, and one short one in the battery compartment. It is not necessary to remove the screws holding the handle.
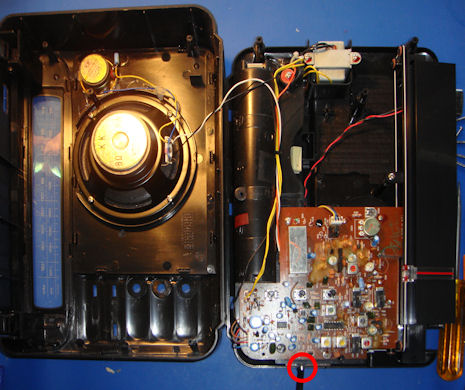
- This is where it gets a little complicated, Radio Shack radios are notorious for needing a little dexterity and having "tricks" to opening. The case separates at the bottom, and it is necessary to
flex the earphone jack case side outward a little to clear the earphone jack. Immediately afterwards, the two halves should be manipulated to minimize stress on the on/off switch, located on the top of
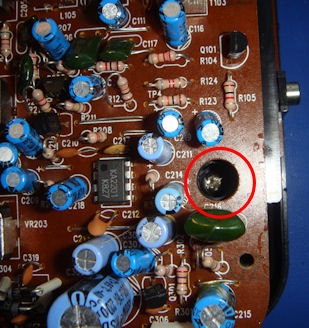
the unit. After that, the two chassis halves can be separated - and you have access to the inner chassis. The location of the troublesome earphone jack is highlighted below:
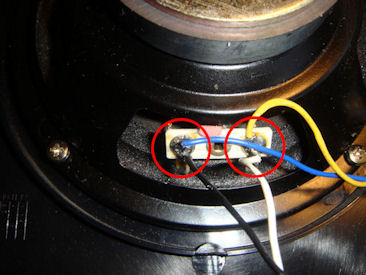
- Unsolder two wires from the speaker.
At this point, the cabinet front is loose and can be set aside on a soft, padded surface.
Removing the Chassis from the Cabinet Back
- Remove 6 screws holding the chassis to the cabinet back. Detail views below:


- Unplug two connectors from the board:

- Unsolder two wires from the board.
- The chassis is now loose, but there are still connections to the cabinet back. Turn the chassis over.
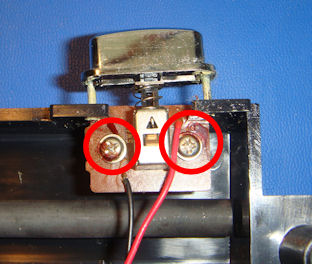
- Unscrew two screws holding the small AC/DC power switch. There is a dust cover on the switch, remove and set aside. Do not forget it when re-assembling!

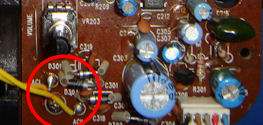
- Unscrew two screws holding the small on/off switch circuit board. Note that I took this picture after I had already installed the longer ferrite bar antenna.
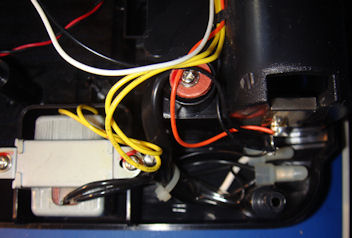
NOTE: The power entry is well thought out. Because the power cord hole is the size of the power cord, and the cord goes direcly to press fit wire nuts, it will not be possible to remove the power entry from the cabinet back.
At this point, your chassis should be loose from the cabinet back. Place the cabinet back aside on a soft, padded surface.
Removing the Board from the Chassis
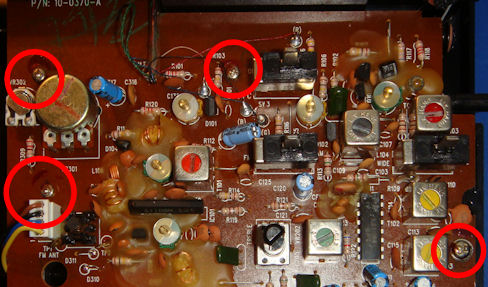
- Remove screws in the four indicated locations:
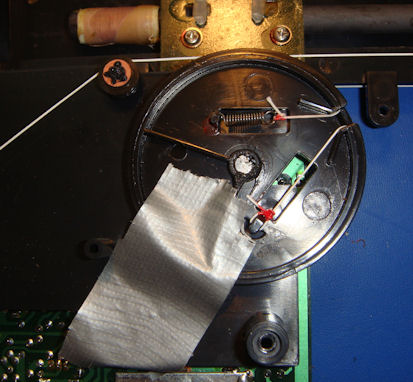
- Secure the tuning pulley with duct tape, and carefully pry the tuning pulley off the shaft of the tuning potentiometer.
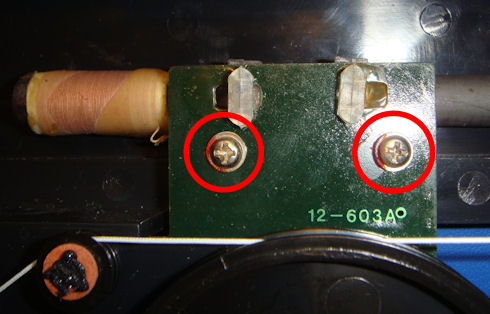
- Unscrew two screws holding the board to the chassis by the ferrite bar antenna:
NOTE: DON'T FORCE ANYTHING! The board is now loose from the chassis, but it will take a bit of delicate manuevering to get it out of the chassis, especially if you have already put in a longer ferrite bar antenna. Go slow, pay attention to what you are doing, and it will come out without any force. By far, the most common "snag" is when the AM antenna wires snag on the board mounting post(s):
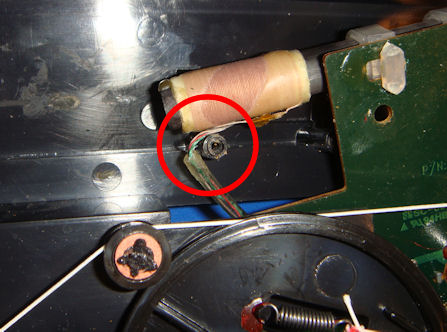
Beware of this, and don't break the wires or move the coil on the ferrite - if you move the coil, you will have to re-align the antenna low setting on AM.